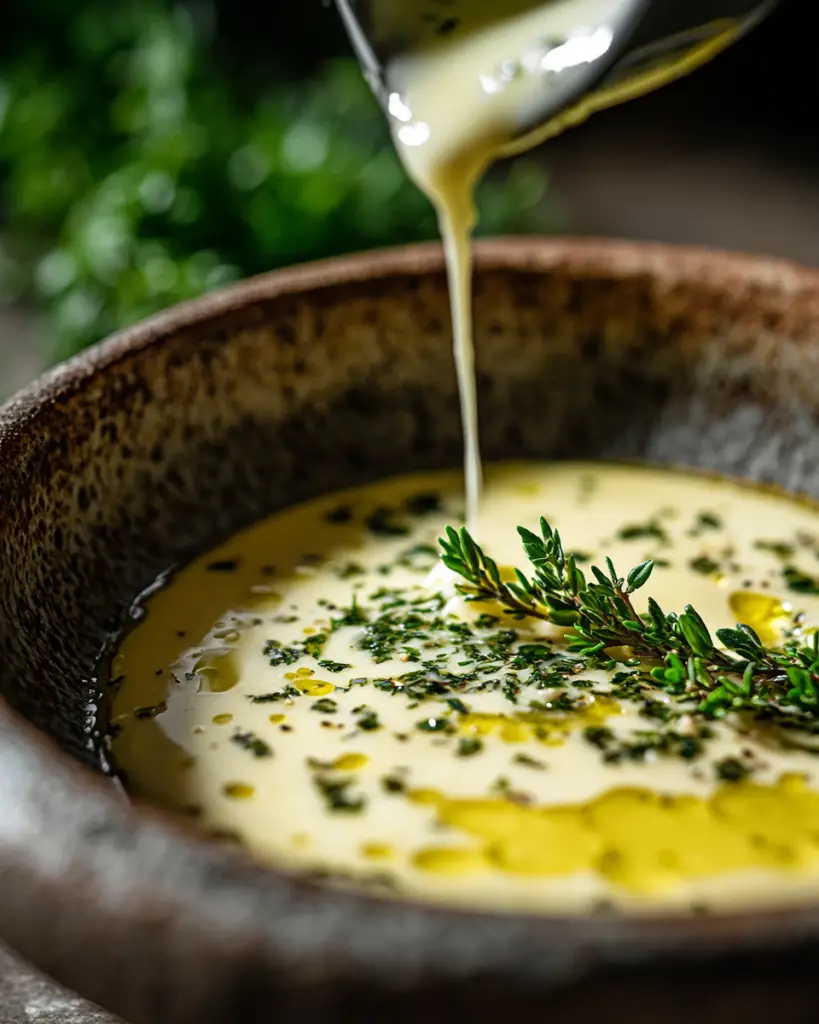
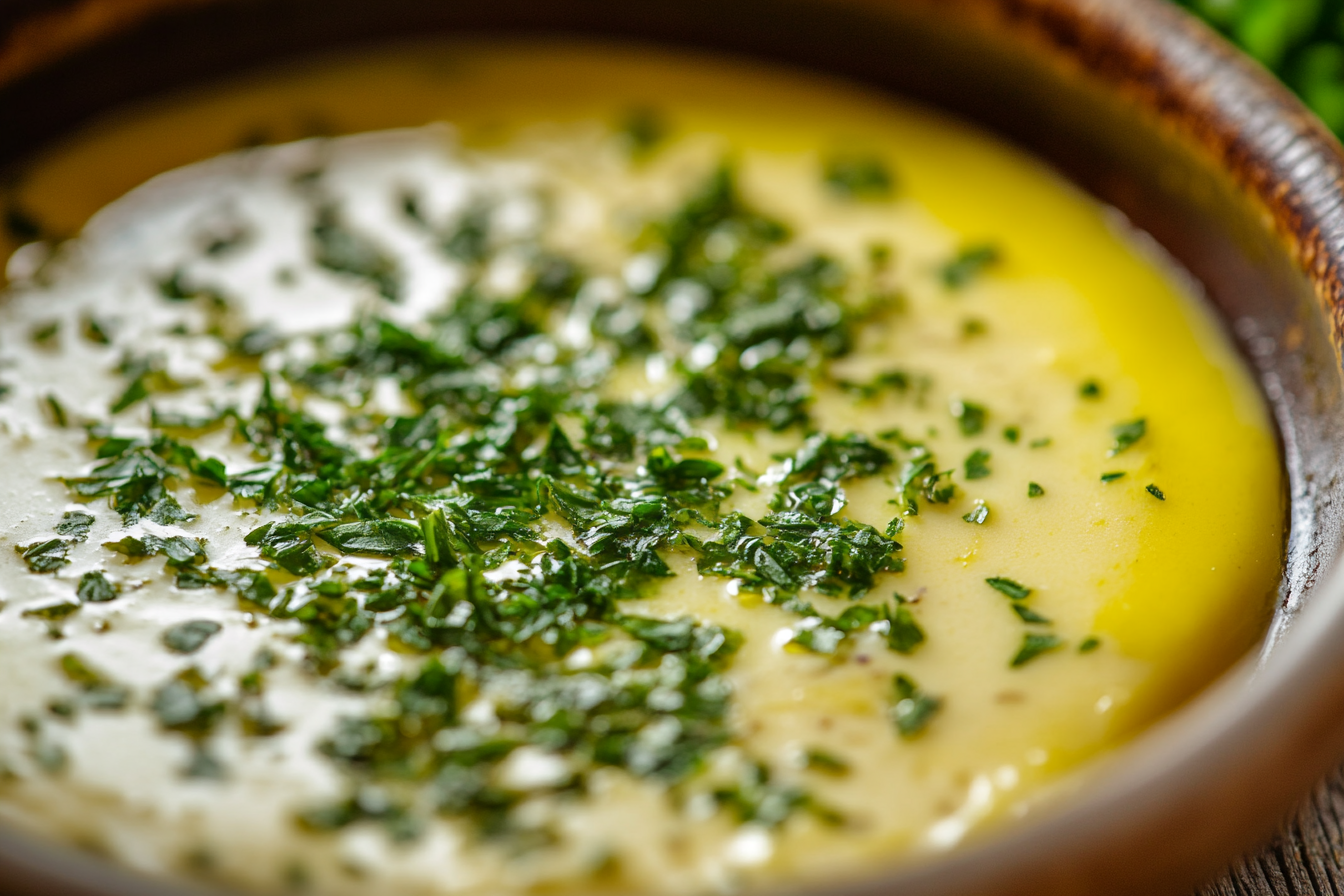
There’s just something magical about the aroma of freshly whipped garlic herb butter. It’s rich, indulgent, and so versatile that it can elevate everything from crusty bread to sizzling steak. Trust me, once you’ve tried this, you’ll never go back to store-bought! Making your own at home is surprisingly simple and feels like a little culinary triumph every time. Ready to dive into buttery, garlicky goodness? Let’s get started!
Why You’ll Love This Recipe
This recipe isn’t just about making butter it’s about creating moments of joy in your kitchen. Whether you’re slathering it onto warm bread, tossing it into pasta, or using it as a finishing touch for your roasted veggies, this garlic herb butter has all the right vibes.
Versatile: Perfect for breakfast, lunch, or dinner this butter shines on bread, seafood, steak, or even roasted corn on the cob.
Budget-Friendly: Uses simple pantry staples like butter, garlic, and herbs. No need for fancy ingredients!
Quick and Easy: Whips up in just a few minutes, and you don’t need any special equipment.
Customizable: Adjust the herbs to your liking go bold with rosemary, subtle with parsley, or spicy with chili flakes.
Crowd-Pleasing: Everyone loves it, from kids to grown-ups. Bonus points: it makes a great edible gift!

Ingredients in Homemade Garlic Herb Butter
Butter: The creamy base. Use unsalted butter for more control over the seasoning. Let it soften to room temperature for easy mixing.
Garlic: The star flavor. Freshly minced garlic adds that bold, irresistible aroma.
Fresh Herbs: Think parsley, thyme, chives, or dill pick your favorites! They bring vibrant, earthy flavors.
Salt: Enhances the taste and balances the butter’s richness.
Lemon Zest (Optional): Adds a bright, zesty kick that lightens up the butter.
Instructions
Soften the Butter: Start by letting the butter come to room temperature. Soft butter is key to getting that smooth, fluffy texture.
Prep the Garlic and Herbs: Mince the garlic finely and chop the herbs. You want everything to be small enough to mix evenly into the butter.
Mix it All Together: In a medium bowl, combine the softened butter, garlic, herbs, salt, and lemon zest (if using). Use a fork or spatula to mix until everything is evenly incorporated.
Shape or Store: Transfer the butter to a piece of parchment paper. Roll it into a log shape for easy slicing or store it in a jar for scooping. Refrigerate until firm.
Serve and Enjoy: Slice or scoop your garlic herb butter and slather it on warm bread, melt it over steak, or toss it with your favorite veggies.
How to Serve Garlic Herb Butter
Crusty Bread: Spread on fresh baguettes, dinner rolls, or toasted sourdough.
Grilled Meats: Melt over steak, chicken, or seafood for a luxurious finish.
Pasta: Toss with freshly cooked pasta for a quick, flavorful dish.
Roasted Vegetables: Add a dollop to hot veggies for a buttery, herby glaze.
Baked Potatoes: Use as a topping and watch it melt into deliciousness.
Additional Tips
Prep Ahead: Make the butter in advance and store it in the fridge for up to a week.
Freezing: Garlic herb butter freezes well wrap it tightly in parchment paper and freeze for up to 3 months. Slice off portions as needed.
Experiment with Flavors: Try adding Parmesan, smoked paprika, or even a hint of honey for unique twists.
Softening Butter Quickly: Forgot to take the butter out? Cut it into small cubes, and it’ll soften faster.
FAQ Section
Q1: Can I use dried herbs instead of fresh?
A1: Yes, but reduce the quantity since dried herbs are more concentrated.
Q2: Can I use salted butter?
A2: You can, but reduce or omit the added salt to avoid over-seasoning.
Q3: Can I freeze garlic herb butter?
A3: Absolutely! Wrap it tightly in parchment or plastic wrap and store it in the freezer for up to 3 months.
Q4: How long does garlic herb butter last in the fridge?
A4: It stays fresh for up to a week when stored in an airtight container.
Q5: What’s the best way to soften butter quickly?
A5: Cut it into small cubes and let it sit at room temperature for 10-15 minutes.
Q6: Can I use roasted garlic instead of fresh?
A6: Definitely! Roasted garlic adds a sweeter, milder flavor to the butter.
Q7: Can I make this dairy-free?
A7: Yes, use a plant-based butter alternative for a dairy-free version.
Q8: Can I add cheese to this recipe?
A8: Of course! Grated Parmesan or crumbled blue cheese works wonderfully.
Q9: Can I use a food processor to mix everything?
A9: Yes, a food processor can make the mixing process quicker and smoother.
Q10: Is this butter good for grilling?
A10: It’s amazing! Spread it on meats, veggies, or bread before grilling for incredible flavor.
Conclusion
Homemade garlic herb butter is a little luxury that goes a long way. It’s easy to make, incredibly versatile, and adds a gourmet touch to any meal. Once you try it, you’ll find yourself making it over and over again because life is simply better with butter. Enjoy, and happy cooking!
Print
Homemade Garlic Herb Butter
- Prep Time: 10 minutes
- Cook Time: 1 hour
- Total Time: 1 hour 10 minutes
- Yield: 10–12 servings 1x
- Category: Condiment
- Method: No-Cook
- Cuisine: French-inspired / International
- Diet: Vegetarian
Description
A rich and aromatic spread made with fresh herbs and garlic, perfect for topping steaks, breads, vegetables, or even bagels. This homemade butter adds an irresistible flavor to any dish.
Ingredients
- 1 cup butter (softened)
- 3 cloves garlic, finely minced
- 1/4 cup chopped fresh parsley
- 1 tablespoon fresh thyme
- 1 tablespoon fresh basil
- 1/4 teaspoon black pepper
Instructions
1. Combine Ingredients:
- In a large bowl, combine all ingredients until well blended.
2. Form the Butter Log:
- Place the mixture onto a piece of plastic wrap. Roll it into a log shape.
3. Refrigerate:
- Seal the wrap and refrigerate for at least one hour before using.
4. Slice and Serve:
- Slice the butter and enjoy on steaks, breads, bagels, baguette, or vegetables
Notes
- Add a touch of lemon zest for a citrusy twist.
- For a spicier version, mix in red pepper flakes.
- Can be stored in the fridge for up to two weeks or frozen for longer storage.
Nutrition
- Serving Size: 1 slice (approx. 1 tbsp)
- Calories: ~100 kcal
- Sugar: 0g
- Sodium: 70mg
- Fat: 11g
- Saturated Fat: 7g
- Unsaturated Fat: 4g
- Trans Fat: 0g
- Carbohydrates: 0g
- Fiber: 0g
- Protein: 0g
- Cholesterol: 30mg

