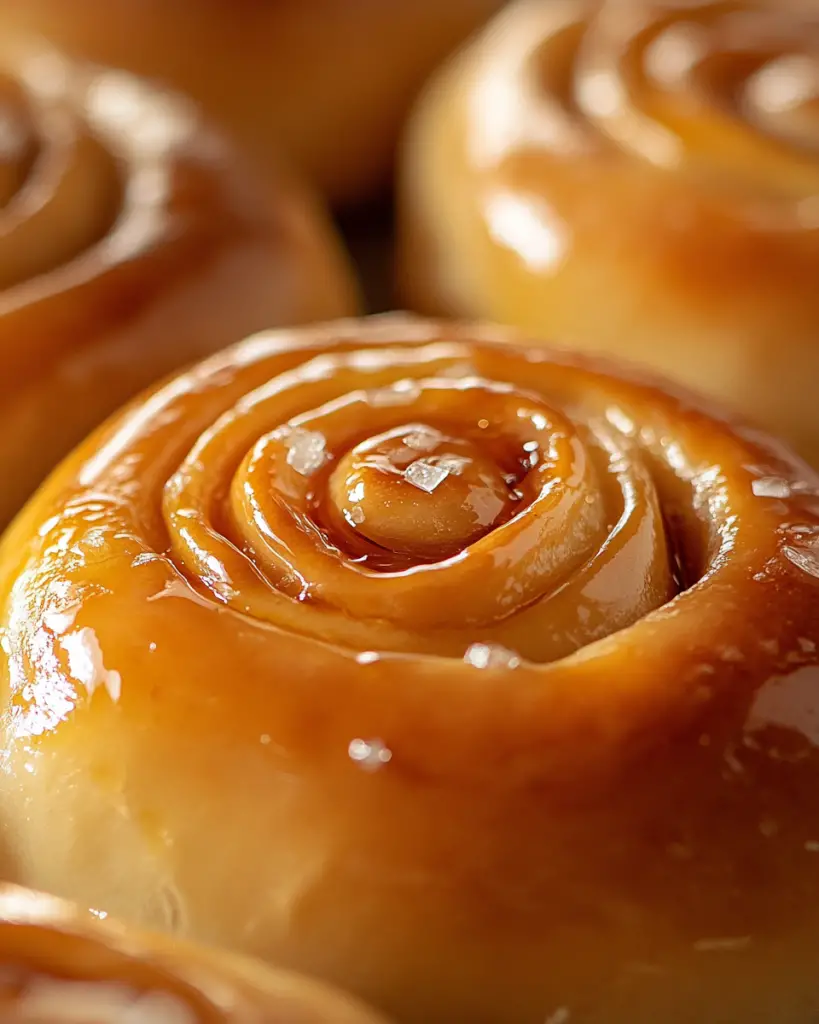
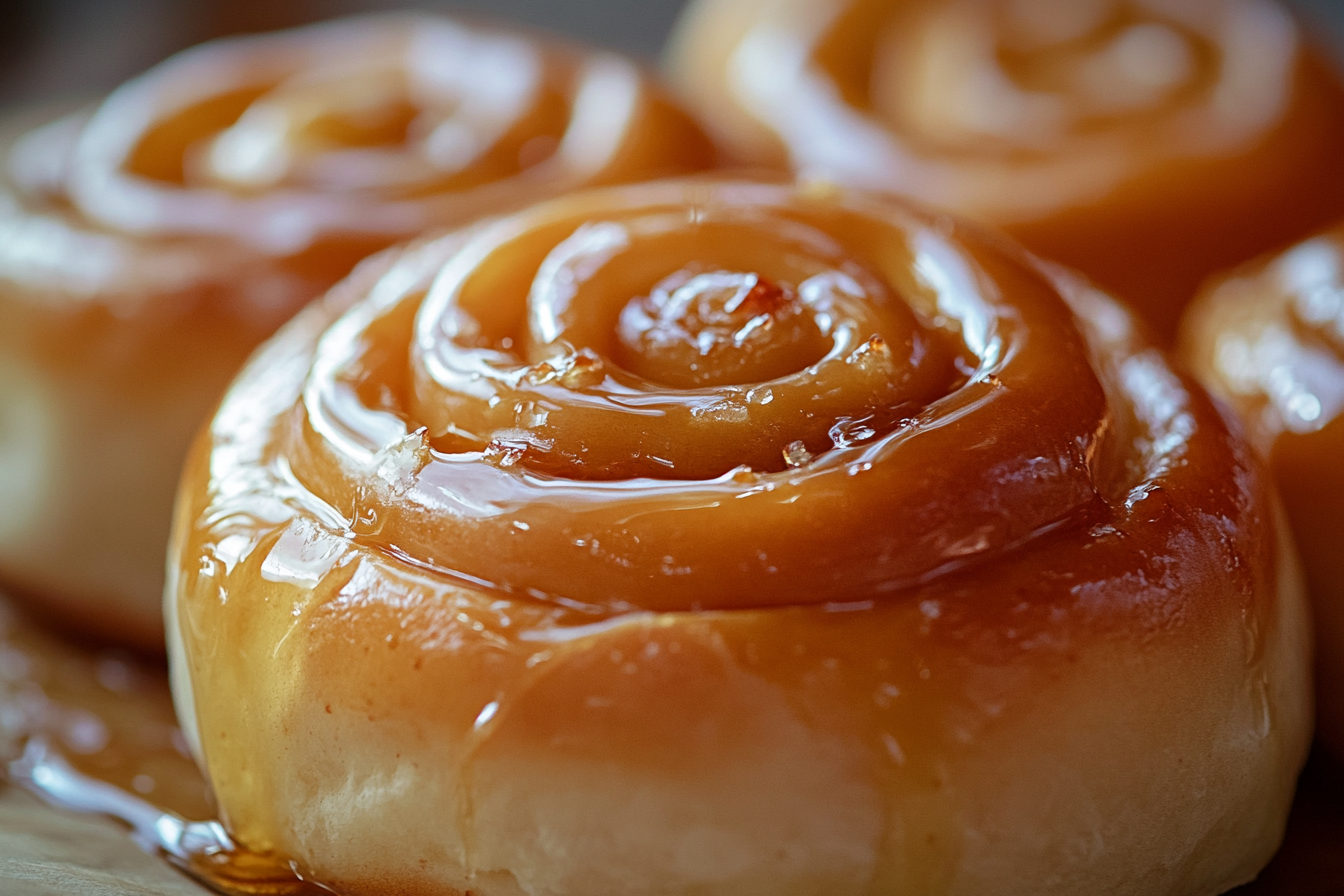
There’s something undeniably magical about the smell of freshly baked honey buns wafting through the kitchen. Soft, sweet, and irresistibly sticky, these homemade honey buns are the kind of treat that feels like a warm hug. Whether you’re enjoying them fresh out of the oven with your morning coffee or sneaking one as a late-night indulgence, trust me, these are a game-changer. Let’s dive in and make some kitchen magic together, shall we?
Why You’ll Love Homemade Honey Buns
This recipe isn’t just about the ingredients it’s about creating moments. Whether you’re treating yourself to a cozy baking day or impressing friends and family with your kitchen skills, these honey buns are versatile enough for any occasion. Here’s why they’re a favorite:
- Versatile: Perfect for breakfast, dessert, or an afternoon snack. Picture yourself savoring one with a cup of tea on a rainy day pure bliss.
- Budget-Friendly: Made with simple, pantry-friendly ingredients. No need for fancy items; these buns prove that simple flavors can be extraordinary.
- Beginner-Friendly: The steps are easy to follow, even if you’re new to baking. No stress, just delicious results.
- Customizable: Add a pinch of cinnamon, a drizzle of caramel, or even some chopped nuts for extra flair.
- Crowd-Pleasing: Who can resist a warm, gooey honey bun? They’re guaranteed to disappear quickly at any gathering.

Ingredients in Homemade Honey Buns
Here’s what makes these buns so special:
- All-Purpose Flour: The base that creates the soft, pillowy texture we all love.
- Yeast: Gives these buns their light, fluffy rise.
- Milk: Adds richness and a tender crumb.
- Honey: The star ingredient, lending natural sweetness and that signature flavor.
- Butter: For that melt-in-your-mouth decadence.
- Eggs: They bind everything together and add a touch of richness.
- Sugar: Balances the flavors and adds just the right amount of sweetness.
- Salt: Enhances all the flavors and keeps the sweetness from becoming overwhelming.
- Optional Add-Ins: Think cinnamon, vanilla, or a handful of chopped pecans for extra texture and flavor.
(Note: The full ingredients list, including measurements, is provided in the recipe card directly below.)
Instructions
Let’s dive into the steps to create these delightful honey buns:
Prepare the Dough: In a large mixing bowl, combine the flour, yeast, and sugar. In a separate bowl, mix the warm milk, melted butter, and eggs. Gradually add the wet ingredients to the dry ingredients, stirring until a dough forms. Knead the dough on a floured surface until smooth and elastic.
Let It Rise: Transfer the dough to a greased bowl, cover it with a clean kitchen towel, and let it rise in a warm spot until it doubles in size. This usually takes about an hour.
Shape the Buns: Once risen, punch down the dough and divide it into equal portions. Roll each piece into a log, then coil it into a bun shape. Place the buns on a greased baking sheet, leaving space for them to rise.
Second Rise: Cover the buns and let them rise again for 30 minutes. This step ensures they’re light and fluffy.
Bake: Preheat your oven to 350°F (175°C). Bake the buns for 15-20 minutes or until golden brown.
Glaze Time: While the buns are baking, prepare the honey glaze by mixing honey, melted butter, and a splash of vanilla. As soon as the buns come out of the oven, brush them generously with the glaze.
Serve and Enjoy: Let the buns cool slightly before serving. Enjoy warm for the ultimate experience.
Nutrition Facts
- Servings: 12 buns
- Calories per serving: Approximately 250
Preparation Time
- Prep Time: 20 minutes
- Cook Time: 20 minutes
- Total Time: 1 hour 40 minutes (including rising time)
How to Serve Homemade Honey Buns
These buns are delightful on their own, but here are some serving suggestions to take them to the next level:
- With Coffee or Tea: A perfect pairing for your morning or afternoon break.
- Warm with Butter: Add a pat of butter to a warm bun for extra indulgence.
- With Ice Cream: Serve with a scoop of vanilla ice cream for a decadent dessert.
- As a Sweet Sandwich: Slice in half and spread with cream cheese or peanut butter for a fun twist.
Additional Tips
- Prep Ahead: You can prepare the dough the night before and let it rise in the fridge overnight.
- Add Spices: A sprinkle of cinnamon or nutmeg in the dough adds a warm, cozy flavor.
- Storage: Store leftovers in an airtight container for up to 3 days. Reheat gently before serving.
- Freezing: These buns freeze beautifully. Wrap them individually and store them in a freezer-safe bag. Thaw and warm in the oven for a fresh-from-the-oven experience.
- Double the Batch: These are so good, you’ll wish you made more. Go ahead and double the recipe!
FAQ Section
Can I use whole wheat flour instead of all-purpose flour? Yes, but the texture will be denser. Consider using half whole wheat and half all-purpose for a balance.
Can I make these without eggs? Absolutely! Substitute eggs with a flaxseed or chia seed mixture (1 tablespoon of seeds + 2.5 tablespoons of water per egg).
Can I skip the second rise? The second rise is essential for fluffy buns. Skipping it might result in denser buns.
How do I make these dairy-free? Use plant-based milk and butter alternatives. They’ll still taste amazing!
What’s the best way to reheat these buns? Wrap them in foil and warm them in the oven at 300°F for 5-7 minutes.
Can I use maple syrup instead of honey? Yes, maple syrup works well as a substitute, though it will slightly change the flavor.
Can I add a filling to these buns? Of course! Try cinnamon sugar, cream cheese, or even chocolate for a fun twist.
How long do these buns stay fresh? They’re best enjoyed fresh but will keep for up to 3 days in an airtight container.
Can I make mini honey buns? Definitely! Just divide the dough into smaller portions and adjust the baking time accordingly.
What’s the secret to fluffy honey buns? Be patient with the rising times and don’t skimp on kneading it’s worth it!
Now that you’ve got everything you need, it’s time to roll up your sleeves and get baking. Trust me, your kitchen is about to smell heavenly, and your taste buds are in for a real treat. Enjoy every sweet, sticky bite!
Print
Homemade Honey Buns
- Prep Time: 30 minutes (plus rising time)
- Cook Time: 25 minutes
- Total Time: 2 hours
- Yield: 12 buns 1x
- Category: Breakfast, Dessert
- Method: Baking
- Cuisine: American
- Diet: Vegetarian
Description
These Homemade Honey Buns are irresistibly soft, sweet, and filled with a honey butter filling. Drizzled with a luscious honey glaze, they’re perfect for breakfast or any sweet treat.
Ingredients
For the Dough:
- 3 1/4 cups all-purpose flour
- 1/4 cup granulated sugar
- 1 tsp salt
- 1 package (2 1/4 tsp) active dry yeast
- 1/2 cup warm milk (110°F/43°C)
- 1/4 cup warm water (110°F/43°C)
- 2 large eggs, room temperature
- 1/4 cup unsalted butter, softened
For the Honey Butter Filling:
- 1/4 cup unsalted butter, softened
- 1/4 cup honey
- 1/3 cup light brown sugar
- 1 tsp ground cinnamon
For the Honey Glaze:
- 1 cup confectioners’ sugar
- 2 tbsp honey
- 1–2 tbsp milk (adjust for desired consistency)
Instructions
Prepare the Dough:
Activate the Yeast:
In a small bowl, combine warm milk, water, and yeast. Let it sit for 5 minutes until frothy.
- Mix Dry Ingredients:
In a large bowl, whisk together the flour, sugar, and salt. - Combine Wet and Dry Ingredients:
Add the yeast mixture, eggs, and softened butter to the dry ingredients. Mix until a soft dough forms. - Knead:
Transfer the dough to a floured surface and knead for 8-10 minutes until smooth and elastic. Alternatively, use a stand mixer with a dough hook for 5-7 minutes. - Rise:
Place the dough in a greased bowl, cover with a damp towel, and let it rise in a warm place for 1-1.5 hours, or until doubled in size.
Prepare the Honey Butter Filling:
6. Mix Filling:
In a small bowl, mix together softened butter, honey, brown sugar, and cinnamon until smooth.
Assemble the Honey Buns:
7. Roll Out the Dough:
Punch down the risen dough and roll it out into a 12×16-inch rectangle on a floured surface.
- Spread Filling:
Evenly spread the honey butter filling over the dough, leaving a 1-inch border on all sides. - Shape Buns:
Roll the dough tightly from the long edge into a log. Slice into 12 equal pieces and place them cut side up in a greased baking dish or on a parchment-lined baking sheet. - Second Rise:
Cover and let the buns rise for 30-45 minutes, until puffed.
Bake the Honey Buns:
11. Preheat Oven:
Preheat your oven to 350°F (175°C).
- Bake:
Bake the buns for 20-25 minutes, or until golden brown. Let them cool slightly.
Prepare the Honey Glaze:
13. Mix Glaze:
In a small bowl, whisk together confectioners’ sugar, honey, and milk until smooth and pourable.
Glaze and Serve:
14. Drizzle Glaze:
Spread or drizzle the honey glaze over the warm honey buns.
- Enjoy:
Serve warm and enjoy the sweet, buttery, and honey-filled perfection!
Notes
- Be sure not to overfill the buns with the honey butter filling to keep them from becoming too sticky while baking.
- These buns are best enjoyed fresh but can be stored in an airtight container for 2-3 days.
Nutrition
- Serving Size: 1 bun
- Calories: 320 kcal
- Sugar: 30 g
- Sodium: 150 mg
- Fat: 14 g
- Saturated Fat: 8 g
- Unsaturated Fat: 5 g
- Trans Fat: 0g
- Carbohydrates: 40 g
- Fiber: 1g
- Protein: 4 g
- Cholesterol: 40 mg

